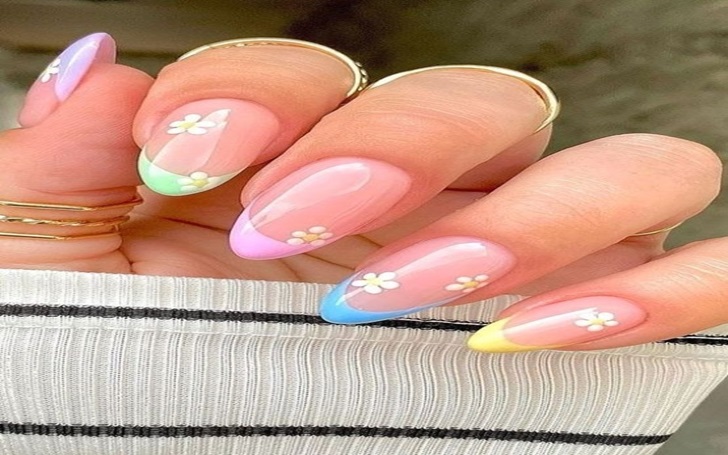
How do Pretty Nails Art?
Seeking an amazing and beautiful way to add sparkle to your look? Nail art may improve your look for a special event or add a unique touch to your personality every day. While very detailed nail art is best left to professionals, there are a few patterns you can do yourself. Use duo tones, glitter and jewels, polka dots, mixed hues, marbling, or stamping to achieve a stunning appearance.
Make your artwork with nail art designs!
Nail design is a unique art form. Professional nail artists have long used a range of materials and techniques to bring their nail art design ideas to life, but more individuals are becoming interested in DIY nail art and learning how to make their own!
To start learning how to create nail patterns, you’ll need a few tools.
1. Nail file
2. Nail polish remover, cuticle stick.
3. Base coat: cuticle oil or hand lotion.
4. Apply the top coat using a dotting tool.
5. Striping brush
6. Small, circular bandages.
7. Cotton pads
8. Cotton swabs
9. Nail polishes
Techniques of pretty Nail art
(Method 1)
Step:1
Remove the old nail polish.
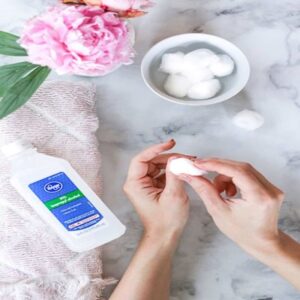
Make sure you’re starting with a clean slate by removing any old polish that remains on your nails. Use nail polish remover and cotton balls to take off any leftover colour or shine.
Step:2
Trim and file your nails.
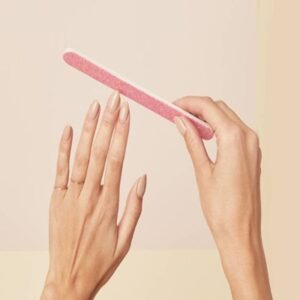
Shape your nails to make them neater. Try not to cut your nails too short when doing nail art. More workspace is necessary. Use a nail file to smooth the outer edges of your nails and remove any rough areas. The filling provides a smooth finish for the nail paint to adhere to.
Step:3
Apply a base coat
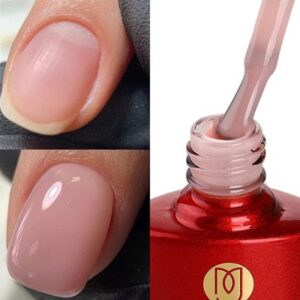
Base coats are often transparent or bluish and can be purchased anywhere nail polish is sold. Basecoats protect your nails from stains or damage caused by nail polish and other nail art products. Apply a single layer of basecoat and let it dry completely before proceeding. This texture is supposed to help the next coat, the polish, stay in place without peeling. Choose the base coat that you like most.
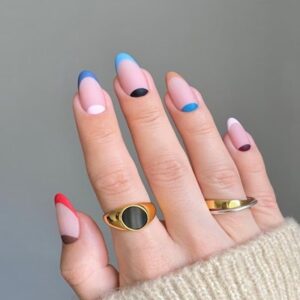
(Method 2): Paint only the tip of your nail a different colour. Choose two complementary colours for the same nail
- Simply paint the tip of your nail a different colour
- Choose two complementary colours that will work well together on the same nail.
- Apply a colour or clear base coat. Let the polish dry.
- Apply a French manicure sticker across your nail, leaving the tip exposed. If you don’t have a French manicure sticker, you can use a similarly shaped sticker, such as the circular ones that fill punched holes in paper.
- Paint the tip colour on top of the sticker. It’s okay if you slightly overlap the paint and the sticker.
- Remove the sticker while the paint is still wet to avoid pulling off chips of paint as you remove it.
- Allow the pattern to dry completely before finishing it with a clear top coat.
-
Add a jewel or sticker to your nail.
Begin with a coat of your preferred nail polish and finish with a beautiful decoration.
- Apply a gem or sticker to your nail. Begin with a coat of your selected nail polish and finish with a beautiful decoration.
- Apply a colour or clear base coat. Let the polish dry.
- Apply a dab of nail glue or nail gel to your nail. Put it high on the nail, near the tip, or in a lower corner. Consider where it would look best.
- Pick up the jewel or sticker with tweezers and place it on the gel or glue. Use the tweezers to gently press it into position. Let the glue cure.
- Apply a clear top coat to the nail to prevent the sticker or diamond from falling off.
Go for a glitter effect. Try one of the following techniques:
- Combine fine glitter with manicure gel or clear paint and apply it to your nails. When the application has dried, reapply a topcoat.
- Apply nail paint or gel to one or more of your nails. Sprinkle the nails with glitter and let them dry before applying a topcoat.
The Basic Nail Design
Dots
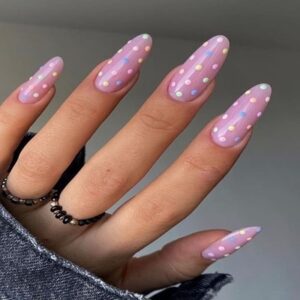
Dots are an ideal way to start with basic nail art design because they’re simple to make and produce a pleasant, fun result. To get the look, apply a small quantity of nail paint to a safe surface and dip the end of your dotting tool into it. Apply tiny dots to your tool while holding it at a 90-degree angle. You can make patterns or just dot as you want!
Stripes
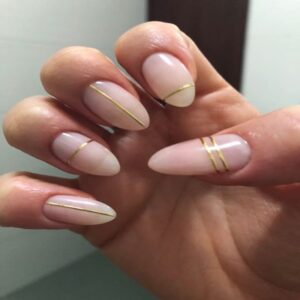
Striped nails are nearly identical to dotted nails, and they are just as simple. Begin by extending your striping brush from the cuticle line to the free end of your nail. Experiment with different stripe widths, angles, and numbers to achieve a playful, fashionable, or classy design.
Half Moon
Prepare your nails and apply a base coat alone. Then, wrap each finger in stitches, covering the bottom part of the nail. Next, apply coloured polish to the entire nail, including the covered area. Once your nails dry out, carefully remove the bandages and refine the line with cotton swabs and nail paint remover as needed
Clouds
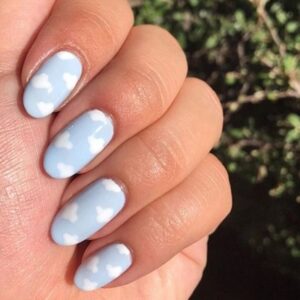
To get these foggy nails, begin with prepared nails and a base coat. Use light blue polish to achieve a sky-like colour. Next, use white polish to create cloud-like structures on your nails. At last, apply a top coat.
Rose Quartz
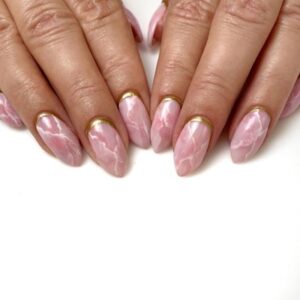
Creating this beautiful rose quartz effect appears to be more difficult than it is! Polish your nails, apply a base coat, and then paint them a neutral colour. Then, using white nail polish, make random, messy lines. To achieve the stone effect, dab a cotton swab with nail polish remover and then dry it. Push the cotton tip into the borders of the white lines. Finish off with a top coat.