In addition to providing natural nails with a strong and stylish extension, acrylic nails promote self-expression and self-creativity. This method combines creativity and talent. You can add flair and beauty to your nails while making them into a customized piece of art with acrylic nail extensions. But how can acrylic nails be applied perfectly and easily?
To get an outstanding result, you must follow the process step by step. Everything needs to be clear, from creating your workplace to creating shapes and molding the acrylic. We’ll take you through each step of applying acrylic nails in this guide. It allows you to design gorgeous nail art that represents your style.
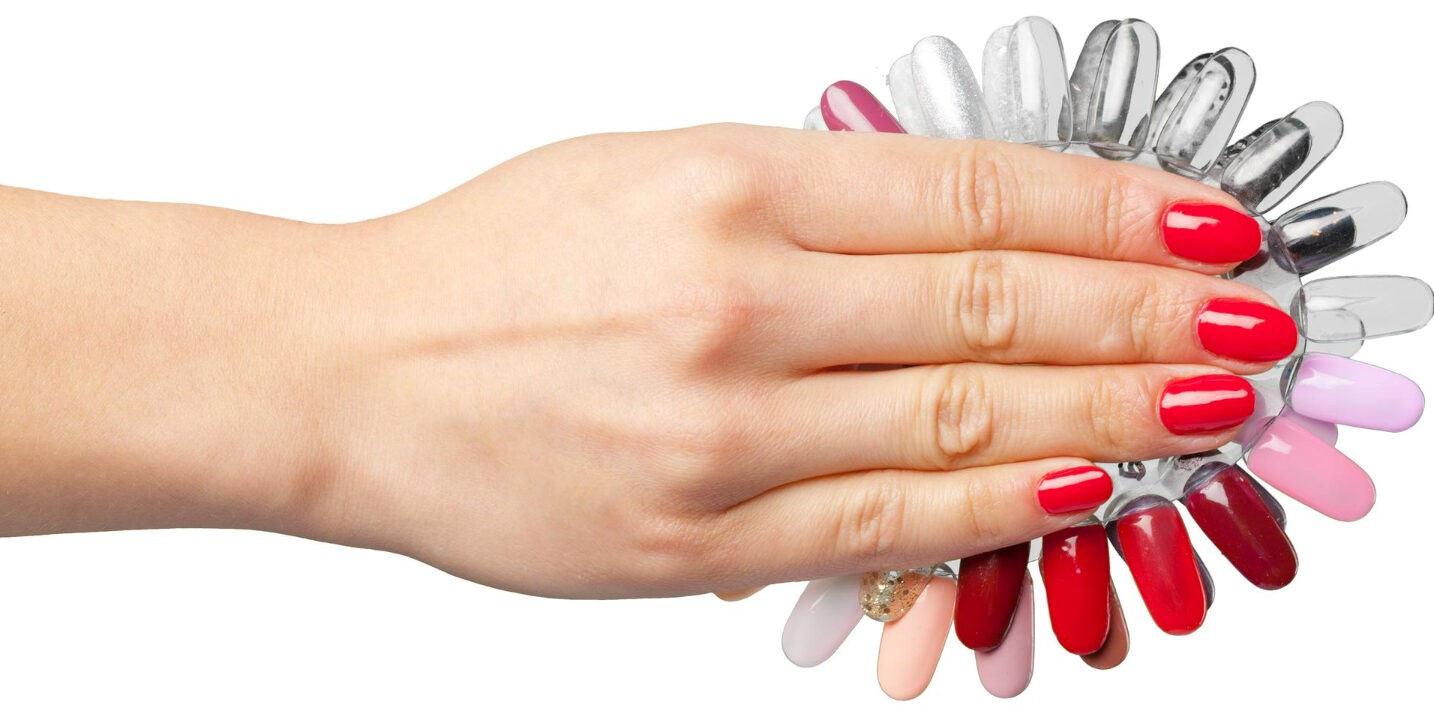
How To Apply Acrylic Nails
Supplies And Tools Required For Acrylic Nails
Whether you are a beginner or an expert nail artist, the following supplies will allow you to create beautiful acrylic nails.
- Acrylic Powder
- Liquid Monomer
- Nail Tips or Forms
- Nail Primer
- Nail Glue
- Acrylic Brush
- Cuticle Pusher and Trimmer
- Nail File and Buffer
- Dappen Dish
- Acetone
- Buffer Block
- Nail Polish Remover
- Clear Top Coat (Optional)
- Decorative Elements (Optional)
- Cuticle Oi
- UV or LED Lamp (if using gel top coat
Step-by-Step Guide

- Make sure your natural nails are clean, well-groomed, and the length you want them to be.
- If you want to extend your nails, choose between forms or nail tips.
- Use nail glue to apply nail tips, or use forms to attach under your nails.
- To improve adhesion, lightly coat your natural nails with nail primer.
- Take a small amount of liquid dime into a dapper dish.
- To make a bead of the acrylic mixture, put the brush into the liquid and then the powder.
Applying Acrylic Nails
- Place the acrylic bead on the nail tip or form near the cuticle area.
- Use your brush to shape and spread the acrylic over the nail surface. Work quickly but deliberately
- Shape the acrylic with your brush to create the desired nail shape and thickness
- Repeat steps 4 and 5 for each nail, one at a time.
Filing and Smoothing
- After the acrylic has dried, shape and perfect the length and contour of the nails with a nail file.
- Make sure the shape is balanced and smooth off any sharp edges.
- Gently buff the acrylic nails with a buffer to create a smooth surface and remove imperfections.
- Decoratively paint or create nail art on your acrylic nails. Let it air dry completely.
- Apply a clear top coat to seal and protect the design (if applied) and provide extra shine.
- To get rid of any dust or garbage, clean the nails and the skin around them with a paper towel or lint-free wipe.
- Apply cuticle oil to moisturize and nourish the cuticles and skin around the nails.
Design and Creativity On Acrylic Nails

Use Nail Polish And Nail Art
- Choose a nail polish color and gently put it onto your acrylic nails.
- Use nail art pens or opposing nail polish colors to create basic designs.
- Try creating fast and detailed designs with striping tape, nail stickers, or decals.
- Use nail art brushes to paint delicate details like flowers, lines, or dots
- Add diamonds, pearls, or rhinestones for glitter and elegance.
- Use tweezers and nail glue to secure them onto the nails
Glitter Accents
- By applying glitter to certain nail sections, you can add a little sparkle.
- Mix glitter with clear nail polish to create a glitter top coat
- Use the effect to create nails by blending two or more nail polish colors.
- Use a sponge to dab the colors onto the nails for a smooth transition
Nail Art Techniques
- Design complex patterns to your nails with nail paint and stamping plates.
- Try painting abstract forms, lines, or patterns to show off your creative side.
- Apply a matte top coat to give your design a soft, velvety finish.
- For a unique and modern look, leave certain areas of your nails raw.
- Apply small flower or leaf designs to your nails to create a charming and feminine look.
- Using paper or tape, make your stencils to create exact geometric designs.
- Before dipping your nails, swirl some nail polish into the water to create a marbling effect.
To create gorgeous and unique nail art, let your creativity run wild and try out a selection of methods and looks. Your imagination becomes a canvas on your acrylic nails. Never forget that practice makes perfect, therefore don’t be afraid to try out new ideas and designs.
Acrylic Nail Tips Sizing Techniques
- Ensure your natural nails are clean, trimmed, and shaped to your desired length.
- Sizes for nail tip sets typically range from 0 to 9 or 1 to 10. The width of the nail tips is given by these figures.The widths of your natural nails and the nail tips should be compared. The nail tip should fit comfortably without overlying the skin on the sides, matching the width of your natural nail.
- Choosing the right nail tip size for each finger is important because your natural nails may vary in width.
Trimming Acrylic Nail Tip
- You can gently trim the sides of the selected nail tip to guarantee a suitable fit if it is somewhat wider than your natural nail. For this, use nail clippers.
- Apply a small amount of acrylic nail glue on the back of the tip and gently press it onto your natural nail, aligning it with the cuticle area.
- It’s important to measure and choose the appropriate nail tip size for each finger because every person’s nails are different in terms of size and shape. Acrylic nail extensions that fit properly guarantee that they feel pleasant and appear natural. If in doubt, you can always file the tips of your nails to match the width of your natural nails.
Using acrylic nails allows you to express your uniqueness and creativity in a whole new way. Every step helps create a stunning and unique acrylic nail, from the careful preparation to the possible design elements. Remember that your friends when applying acrylic nails are patient and practice. It takes time to get your skill perfected, but it’s wonderful to see your original designs fulfilled. Whether you go for a traditional style or choose to create bold designs, your acrylic nails will be a showcase for your artistic ability.